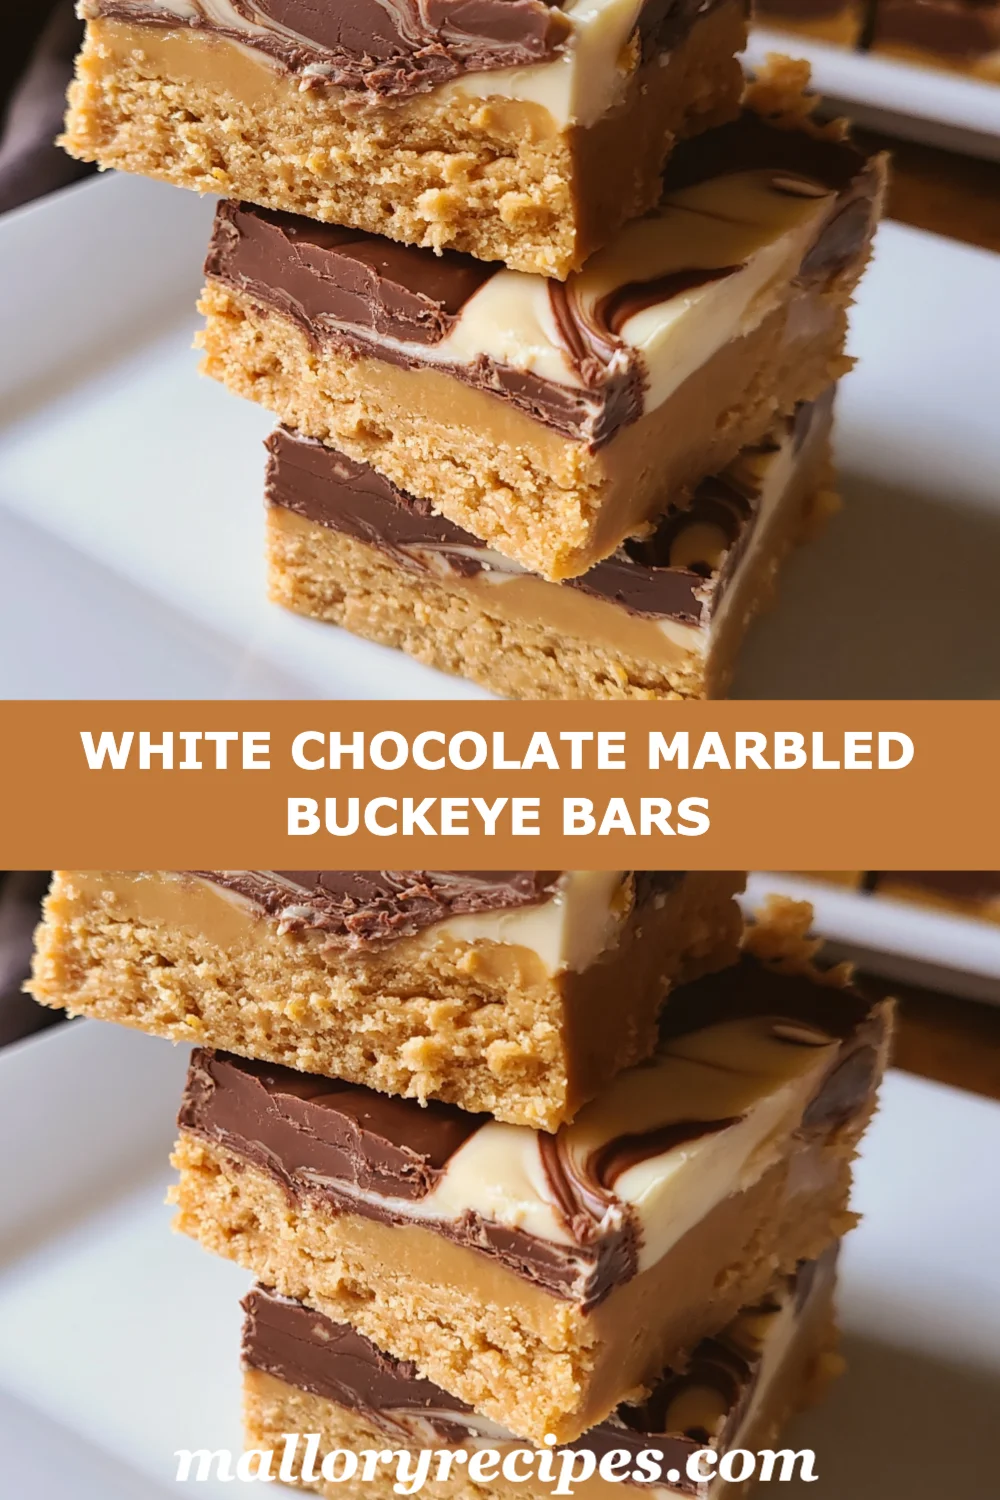
If you’re a fan of sweet treats that combine the rich flavors of chocolate and peanut butter, then you’ll absolutely love these White Chocolate Marbled Buckeye Bars. This delightful dessert takes the classic Buckeyes, a popular treat from Ohio known for their peanut butter and chocolate combination, and elevates them into a bar form that’s perfect for sharing (or not!). With a creamy peanut butter filling, swirls of both semi-sweet and white chocolate, and a touch of vanilla, these bars are a heavenly indulgence that can satisfy any sweet tooth. Whether you’re preparing for a family gathering, a potluck, or simply want to treat yourself, these bars are sure to impress. So roll up your sleeves and let’s dive into this easy yet decadent recipe!
Why You’ll Love This Recipe
There are countless reasons to love White Chocolate Marbled Buckeye Bars. First and foremost, they combine two amazing flavors—rich chocolate and creamy peanut butter—into one irresistible dessert. The contrast of the smooth peanut butter filling against the marbled chocolate is not just visually appealing; it offers a delightful taste experience. These bars are perfect for any occasion, whether it’s a birthday party, holiday gathering, or a simple weeknight treat.
One of the greatest aspects of this recipe is its simplicity. With just a few common ingredients and straightforward steps, you can whip up a batch of these bars in no time. They require minimal baking, making them perfect for beginner bakers or anyone who might be pressed for time. The no-fuss preparation allows you to indulge in homemade goodness without the hassle.
Additionally, these bars are highly customizable! You can easily tweak the recipe to accommodate dietary preferences, such as using gluten-free ingredients or substituting with vegan options. The versatility of the ingredients means that you can make them your own, tailoring them to your family’s tastes.
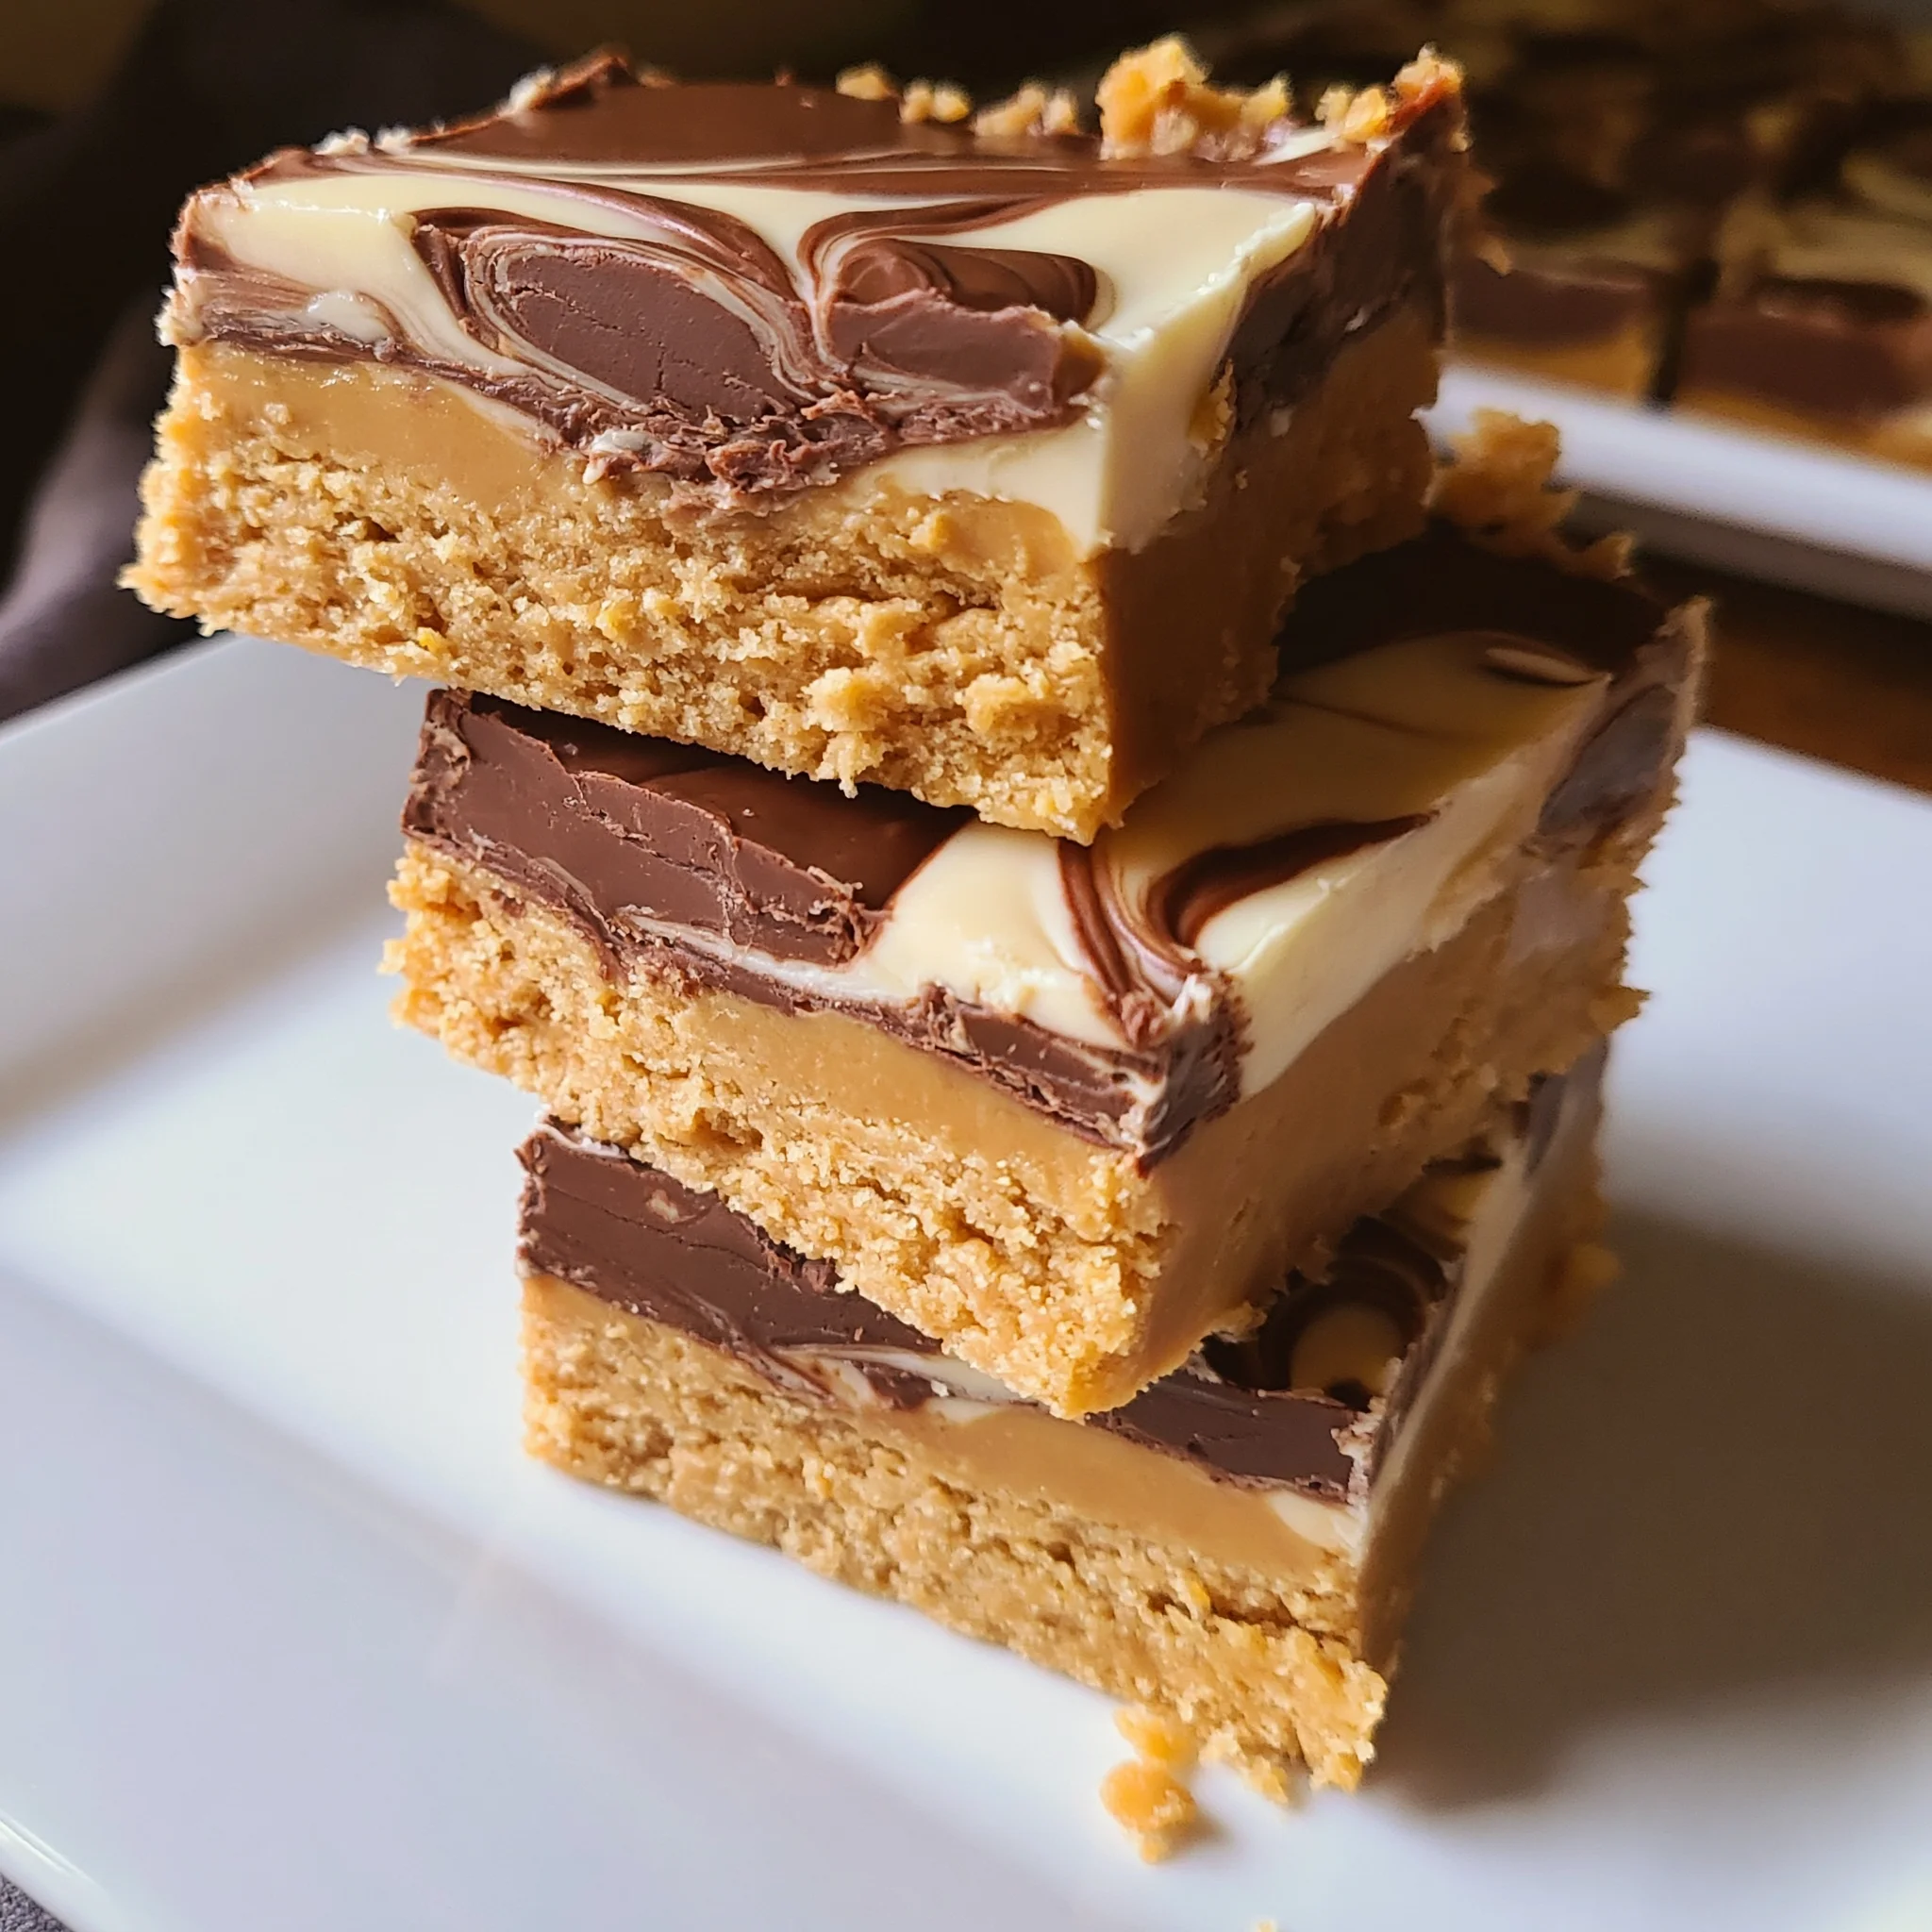
Finally, the marbled presentation is sure to wow your friends and family. The swirling of the white chocolate into the dark chocolate creates a stunning visual effect that is as impressive as it is delicious. It’s a great way to elevate a simple dessert into something that looks gourmet!
Why You Should Try This Recipe
Not only are these White Chocolate Marbled Buckeye Bars a joy to eat, but they also provide numerous benefits that make them an excellent choice for your next dessert. One of the primary reasons to try this recipe is the balance of flavors and textures it offers. The creamy peanut butter filling is both rich and satisfying, while the chocolate layers add a sweet and slightly bitter contrast. The combination creates a perfect harmony that keeps you coming back for more.
Another reason to make these bars is their crowd-pleasing nature. Desserts like these are often a hit at gatherings, as they cater to a wide range of palates. The universal appeal of chocolate and peanut butter means that these bars are likely to be a favorite among both kids and adults alike. Plus, they are easy to cut into individual squares, making them perfect for serving at parties or events.
In addition to their deliciousness, these bars are also relatively healthy compared to many other dessert options. Peanut butter is a source of protein, healthy fats, and various vitamins and minerals. When enjoyed in moderation, these bars can be a satisfying treat without completely derailing your health goals.
Finally, making these bars at home allows you to control the quality of the ingredients. You can opt for organic peanut butter, high-quality chocolate, and other wholesome components. This not only enhances the flavor but also ensures that you’re serving a treat that aligns with your values.
Ingredients and Utensils Needed
To create your own delicious White Chocolate Marbled Buckeye Bars, you’ll need the following ingredients:
Ingredients
- For the Buckeye Filling:
- 1 cup creamy peanut butter
- 1 cup powdered sugar
- 1/2 cup unsalted butter, softened
- 1 teaspoon vanilla extract
- For the Chocolate Layer:
- 1 cup semi-sweet chocolate chips
- 1 cup white chocolate chips
These ingredients are not only easy to find but also contribute to the rich flavor profile of your bars. Here’s a quick breakdown of some key components:
- Creamy Peanut Butter: Choose a high-quality, natural peanut butter for the best flavor.
- Powdered Sugar: This is essential for achieving the right sweetness and texture in the filling.
- Unsalted Butter: Softened butter is easier to mix and helps to create a creamy consistency.
- Chocolate Chips: For the chocolate layers, feel free to use your favorite brands. Semi-sweet and white chocolate provide a perfect balance.
Recommended Utensils
Along with the ingredients, having the right tools will help ensure your White Chocolate Marbled Buckeye Bars turn out perfectly:
- 8×8-inch baking dish
- Parchment paper
- Mixing bowls
- Microwave-safe bowls
- Spatula or spoon for mixing
- Knife or toothpick for swirling
- Cooling rack (optional)
Using parchment paper in your baking dish will make it much easier to lift the bars out once they’ve cooled, allowing you to cut them into beautiful squares without any mess.
Detailed Recipe Steps
Now that you have your ingredients and utensils ready, let’s dive into the step-by-step process of making these delightful White Chocolate Marbled Buckeye Bars:
- Preheat the Oven: Begin by preheating your oven to 350°F (175°C). This ensures that your bars bake evenly and thoroughly.
- Prepare the Baking Dish: Line an 8×8-inch baking dish with parchment paper, allowing some overhang. This will make it easier to remove the bars once they’re baked.
- Make the Buckeye Filling: In a mixing bowl, combine 1 cup of creamy peanut butter, 1 cup of powdered sugar, 1/2 cup of softened unsalted butter, and 1 teaspoon of vanilla extract. Mix until the mixture is smooth and well combined. It should be thick yet spreadable.
- Spread the Peanut Butter Mixture: Once your filling is ready, spread it evenly into the prepared baking dish. Use a spatula to smooth it out, ensuring an even layer.
- Melt the Semi-Sweet Chocolate: In a microwave-safe bowl, add 1 cup of semi-sweet chocolate chips. Microwave in 30-second intervals, stirring between each interval until fully melted and smooth. Be careful not to overheat the chocolate, as it can burn easily. Once melted, pour the chocolate over the peanut butter layer and spread it evenly with a spatula.
- Melt the White Chocolate: In another microwave-safe bowl, melt 1 cup of white chocolate chips in the same manner until smooth. Drizzle the melted white chocolate over the semi-sweet chocolate layer. Don’t worry about being too precise; the goal is to create a marbled effect!
- Create the Marble Effect: Using a knife or a toothpick, gently swirl the white chocolate into the semi-sweet chocolate. This should create a beautiful marbled pattern. Be careful not to overmix, as you want to maintain the distinct layers.
- Bake the Bars: Place the baking dish in the preheated oven and bake for 20-25 minutes. The edges should be set, while the center should remain slightly soft. Keep an eye on them to avoid overbaking.
- Cool the Bars: Once baked, remove the dish from the oven and allow the bars to cool at room temperature. This cooling process is essential for the bars to firm up properly.
- Cut and Serve: After the bars have cooled, lift them out of the baking dish using the overhanging parchment paper. Cut them into squares, and they’re ready to serve! Enjoy your homemade White Chocolate Marbled Buckeye Bars!
Practical Tips: Make sure to measure your ingredients accurately for the best results. If you prefer a thicker chocolate layer, feel free to add more chocolate chips. Additionally, let the bars cool completely before cutting to ensure clean edges.
Tips and Variations
If you want to switch things up or accommodate dietary restrictions, here are some tips and variations for your White Chocolate Marbled Buckeye Bars:
- Vegan Option: Substitute the unsalted butter with a plant-based butter alternative and use vegan chocolate chips. Additionally, you can replace the powdered sugar with a non-dairy powdered sugar alternative.
- Gluten-Free Option: This recipe is naturally gluten-free, but always check your ingredient labels to ensure that they are certified gluten-free.
- Nut-Free Option: If you have nut allergies, consider substituting peanut butter with sun butter or another nut-free spread. This will alter the flavor slightly but still create a delicious treat.
- Flavor Variations: For a twist, you could add a pinch of sea salt on top of the chocolate layer before baking or fold in some crushed pretzels or toffee bits into the peanut butter mixture for added crunch.
To avoid common pitfalls:
- Be careful not to overbake the bars, as this can lead to a dry texture. Start checking for doneness around the 20-minute mark.
- Make sure your butter is at room temperature for easy mixing. If it’s too cold, it won’t blend well with the peanut butter.
- When swirling the chocolate, use a light hand to avoid mixing the layers too much.
Nutritional Values and Benefits
Understanding the nutritional content of your White Chocolate Marbled Buckeye Bars can help you enjoy them in moderation. Here is a general breakdown of the nutritional values per serving (based on cutting the bars into 16 squares):
- Calories: Approximately 200
- Protein: 4g
- Fat: 12g
- Carbohydrates: 22g
- Sugar: 15g
Health Benefits: Peanut butter is rich in protein and healthy fats, which can help keep you feeling full and satisfied. White chocolate, while sweeter, can also provide quick energy. Just remember to enjoy these bars in moderation, as they are still a treat!
Frequently Asked Questions
Can I make these White Chocolate Marbled Buckeye Bars ahead of time?
Yes, these bars can be made ahead of time! Store them in an airtight container in the refrigerator for up to one week. You can also freeze them for longer storage, just be sure to wrap them well.
What’s the best way to cut these bars?
To get clean cuts, use a sharp knife and wipe it clean between cuts. This will help maintain the marbled appearance and prevent the layers from smudging.
Can I substitute the peanut butter with another spread?
Absolutely! You can use almond butter, cashew butter, or even sun butter for a nut-free option. Just keep in mind that this will change the flavor profile slightly.
How do I store leftover bars?
Store leftover bars in an airtight container at room temperature for up to three days or in the refrigerator for up to a week. If freezing, wrap them tightly in plastic wrap and place them in a freezer-safe bag.
Conclusion
In summary, White Chocolate Marbled Buckeye Bars are a delightful and easy treat that combines the classic flavors of peanut butter and chocolate in a unique way. With just a few ingredients and simple steps, you can create a dessert that’s sure to please everyone. Don’t forget to experiment with different variations to make this recipe your own! For more delicious recipes, check out Dill Pickle Bacon Pasta Salad or Chocolate Chip Cookies for treats you will love! We encourage you to try making these bars and share your experience in the comments below!
If you found this recipe helpful, consider sharing it on social media or pinning it to your favorite Pinterest board for future reference! Happy baking!
White Chocolate Marbled Buckeye Bars
Ingredients
Equipment
Method
- Step 1: Preheat your oven to 350°F (175°C).
- Step 2: Line an 8x8-inch baking dish with parchment paper, allowing some overhang.
- Step 3: In a mixing bowl, combine creamy peanut butter, powdered sugar, softened unsalted butter, and vanilla extract. Mix until smooth and well combined.
- Step 4: Spread the peanut butter mixture evenly into the prepared baking dish.
- Step 5: Melt semi-sweet chocolate chips in a microwave-safe bowl in 30-second intervals, stirring until smooth. Pour over the peanut butter layer and spread evenly.
- Step 6: Melt white chocolate chips in another microwave-safe bowl until smooth. Drizzle over the semi-sweet chocolate layer.
- Step 7: Using a knife or toothpick, swirl the white chocolate into the semi-sweet chocolate.
- Step 8: Bake for 20-25 minutes until the edges are set and the center is slightly soft.
- Step 9: Allow the bars to cool at room temperature before cutting into squares.