Welcome to the world of homemade bread! If you’ve ever craved the irresistible aroma of freshly baked bread wafting through your home, then this No Knead Garlic Herb Dutch Oven Bread Recipe with Crispy Crust is just for you. This recipe is designed for both novice bakers and seasoned pros, offering a simple yet rewarding way to create a loaf that not only tastes divine but also boasts an impressive crust and a soft, airy interior. With its rich garlic flavor and the delightful essence of fresh herbs, this bread will elevate any meal or become the star of your next gathering.
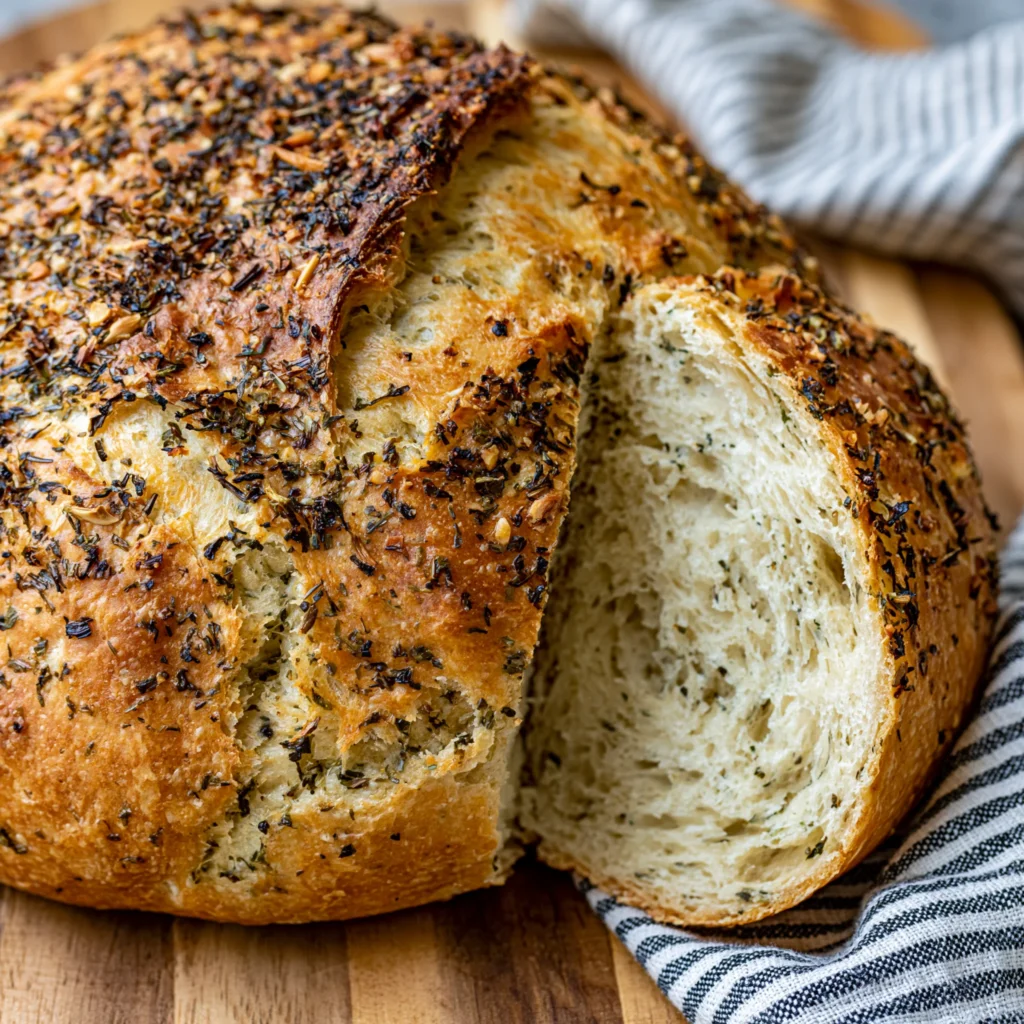
Imagine serving a warm, golden loaf at dinner, pulling it apart to reveal its soft, airy texture. This bread is perfect for dipping in olive oil, slathering with butter, or serving alongside your favorite soups and salads. Best of all, it requires minimal effort and no kneading, allowing you to enjoy the process without the stress. So, let’s dive into why you’ll love this recipe and how easy it is to make!
Why You’ll Love This Recipe
There are countless reasons to love this No Knead Garlic Herb Dutch Oven Bread Recipe with Crispy Crust. First and foremost, the flavor is simply exceptional. The combination of garlic and fresh herbs infuses each bite with a burst of savory goodness that will leave your taste buds dancing. Whether you’re hosting a dinner party or just enjoying a cozy night at home, this bread is sure to impress.
Another highlight is the simplicity of the preparation. Unlike traditional bread recipes that require extensive kneading and precise timing, this recipe is incredibly forgiving. You’ll simply mix the ingredients, let the dough rise, and bake. The long rise time allows for the development of complex flavors without the need for constant attention. It’s a perfect solution for busy individuals who still want to enjoy the satisfaction of homemade bread.
The texture of this bread is another reason it stands out. The use of a Dutch oven creates a steamy environment that helps achieve a beautifully crispy crust while maintaining a soft, airy interior. When you slice into the loaf, the satisfying crunch of the crust will enhance your bread-eating experience. Plus, the golden color of the crust is visually appealing, making it a beautiful centerpiece on any table.
Lastly, this recipe is versatile! You can customize it by adding your favorite herbs or even experimenting with different types of flour. Want to add some cheese? Go for it! This recipe invites creativity, allowing you to make it your own. You can easily adapt the recipe to fit your dietary preferences, making it a staple in your kitchen.
Why You Should Try This Recipe
If you’ve ever been intimidated by the thought of baking bread, let this No Knead Garlic Herb Dutch Oven Bread Recipe with Crispy Crust be your gateway to bread making. The no-knead approach simplifies the process, removing the need for heavy mixing and allowing you to focus on the joy of baking. This recipe paves the way for even the most inexperienced bakers to create a stunning loaf that tastes like it came from a professional bakery.
In addition to its simplicity, this recipe is also incredibly forgiving. The long fermentation time contributes to the dough’s flavor and structure, meaning that even if you leave it to rise a bit longer than suggested, your bread will still turn out delicious. You can be flexible with your schedule, making this ideal for busy lifestyles.
Moreover, the ingredients are pantry staples that most people already have on hand. You won’t need any fancy equipment or hard-to-find ingredients. Just basic flour, salt, yeast, and water, along with some garlic and herbs, are all you need to create this fantastic bread. This accessibility makes it easy for anyone to start baking.
The nutritional aspect is also worth considering. Homemade bread can be healthier than store-bought options, as you have control over the ingredients. You can opt for organic flour, reduce the salt, or even add whole grains to boost the nutritional value. Plus, making your own bread means no preservatives or artificial ingredients, leading to a cleaner, healthier option for you and your family.
Ingredients and Utensils Needed
Ingredients
- 3 cups all-purpose flour: This serves as the base for your bread, providing structure and texture.
- 1 ½ teaspoons salt: Enhances flavor and controls yeast activity.
- ½ teaspoon instant yeast: A key ingredient for leavening the dough.
- 1 ½ cups warm water: Activates the yeast and hydrates the flour.
- 4 cloves garlic, minced: Adds a robust garlic flavor to the bread.
- 2 tablespoons fresh herbs (e.g., rosemary, thyme, or parsley), chopped: Infuses the bread with aromatic flavors.
- Extra flour for dusting: Prevents sticking during shaping and handling.
Recommended Utensils
- Large mixing bowl: For combining ingredients.
- Wooden spoon or spatula: For mixing the dough.
- Plastic wrap or kitchen towel: To cover the dough while it rises.
- Parchment paper: Makes transferring the dough easier and prevents sticking in the Dutch oven.
- Dutch oven: Essential for creating the perfect baking environment for a crispy crust.
- Wire rack: To cool the bread after baking.
Having the right ingredients and utensils is crucial for the success of your No Knead Garlic Herb Dutch Oven Bread Recipe with Crispy Crust. With these simple components, you’ll be well on your way to creating a delicious loaf that will impress anyone who takes a bite!
Detailed Recipe Steps
- Combine dry ingredients: In a large mixing bowl, combine the 3 cups of all-purpose flour, 1 ½ teaspoons of salt, and ½ teaspoon of instant yeast. This step ensures that the salt and yeast are evenly distributed throughout the flour, which is essential for proper fermentation.
- Add wet ingredients: Next, add 1 ½ cups of warm water, 4 cloves of minced garlic, and 2 tablespoons of chopped fresh herbs to the dry ingredients. Use a wooden spoon or spatula to stir the mixture until a shaggy dough forms. The dough will be sticky and appear rough, which is normal.
- Let the dough rise: Cover the bowl with plastic wrap or a kitchen towel and let it rise at room temperature for 12 to 18 hours. This long fermentation time allows the flavors to develop and gives the bread its airy texture. You’ll know it’s ready when the surface is bubbly and the dough has roughly doubled in size.
- Shape the dough: After the rise, turn the dough out onto a floured surface. Sprinkle the top with a little extra flour to prevent sticking. Gently fold the dough over itself a couple of times to shape it into a ball. Be careful not to deflate it too much—this will help preserve the airy texture.
- Rest the dough: Place the dough seam side down on a piece of parchment paper. Cover it with a towel and let it rest for about 30 minutes. This step allows the gluten to relax, making it easier to transfer to the Dutch oven.
- Preheat the oven: Preheat your oven to 450°F (232°C). While the oven is heating, place your Dutch oven (with the lid) inside to heat for about 30 minutes. This step is crucial for achieving that crispy crust.
- Transfer the dough: Carefully remove the hot Dutch oven from the oven. Lift the dough using the parchment paper and place it into the Dutch oven. Be cautious, as the pot will be extremely hot. Cover with the lid.
- Bake the bread: Bake for 30 minutes covered, then remove the lid and bake for an additional 15-20 minutes, or until the crust is a beautiful golden brown. The steam created in the Dutch oven will help form a perfect crust, while the second half of the baking will crisp it up.
- Cool and slice: Once baked, carefully remove the bread from the Dutch oven using the parchment paper. Let it cool on a wire rack before slicing. This cooling period allows the steam to escape, ensuring the bread doesn’t become soggy and retains its texture.
As you follow these steps, remember that baking is as much about instinct as it is about precision. Don’t hesitate to adjust the timing based on your environment or preferences. Enjoy the wonderful aroma that fills your kitchen as you create this lovely No Knead Garlic Herb Dutch Oven Bread Recipe with Crispy Crust.
Tips and Variations
While this No Knead Garlic Herb Dutch Oven Bread Recipe with Crispy Crust is fantastic as-is, there are numerous ways to personalize it to suit your taste. Here are some tips and variations you might consider:
- Herb Variations: Feel free to substitute the herbs based on what you have available. Basil, oregano, or even a little dill can add unique flavors to your bread.
- Cheesy Delight: Consider mixing in some shredded cheese, like Parmesan or Gruyère, to enrich the flavor further. Add about ½ cup to the dough when mixing the wet ingredients.
- Gluten-Free Option: Use a gluten-free all-purpose flour blend to make this recipe gluten-free. Ensure the blend contains xanthan gum for the best texture.
- Vegan Adaptation: This recipe is naturally vegan; just ensure you’re using plant-based ingredients for any add-ins like cheese.
- Avoid Common Mistakes: If your dough seems too dry, add a little more water, a tablespoon at a time, until you achieve the desired consistency. Conversely, if it’s too sticky, sprinkle with flour during shaping.
Experimenting with these variations can enhance your bread-making experience and ensure you never tire of this delicious recipe. The beauty of homemade bread is that it’s an expression of your culinary creativity, so don’t hesitate to make it your own!
Nutritional Values and Benefits
Understanding the nutritional value of what you eat is essential, especially when it comes to homemade bread. Here’s a general breakdown of the nutritional information per serving (assuming 12 servings from one loaf):
- Calories: Approximately 150 calories
- Protein: About 4g
- Fat: Less than 1g
- Carbohydrates: Roughly 31g
- Fiber: Approximately 1g
This bread is a source of complex carbohydrates, which provide energy and are an essential part of a balanced diet. The garlic in the recipe offers several health benefits, including anti-inflammatory properties and potential immune system support. Fresh herbs not only enhance flavor but also add nutritional value, containing vitamins and antioxidants.
Making your own bread allows you to control the ingredients and avoid preservatives or additives often found in store-bought options. This homemade bread is not only delicious but can also be a healthier choice for you and your family.
Frequently Asked Questions
Can I make this bread without a Dutch oven?
While a Dutch oven is recommended for its ability to trap steam, you can bake this bread on a baking sheet. Just create steam in your oven by placing a pan of hot water on the bottom during baking.
How do I store the leftover bread?
Store leftover bread in a paper bag at room temperature for up to 2 days. For longer storage, wrap it tightly in plastic wrap and freeze for up to 3 months.
Can I add other ingredients to this bread?
Absolutely! You can add ingredients like olives, sun-dried tomatoes, or nuts to elevate the flavor. Just be sure to adjust the quantity to maintain the dough’s consistency.
Why is my bread dense?
A dense loaf can be caused by insufficient rising time, using too much flour, or not enough yeast. Ensure you follow the measurements accurately and allow the dough enough time to rise.
Can I make this bread in advance?
Yes, you can prepare the dough the night before and let it rise overnight. Bake it fresh the next day for the best flavor and texture.
Conclusion
In conclusion, the No Knead Garlic Herb Dutch Oven Bread Recipe with Crispy Crust is a simple yet rewarding recipe that brings the joy of homemade bread into your kitchen. With its flavorful garlic and herb infusion, along with the satisfying crispy crust, this bread is sure to become a favorite in your household. Don’t forget to experiment with variations to make it your own!
We hope you enjoy making this bread as much as we do. If you have any questions, comments, or variations of your own to share, please leave them below! For more delicious recipes, check out the Deviled Eggs Pasta Salad or Fresh Grinder Tortellini Salad for treats you will love!
Happy baking!
Check out our Pinterest for more delicious recipes!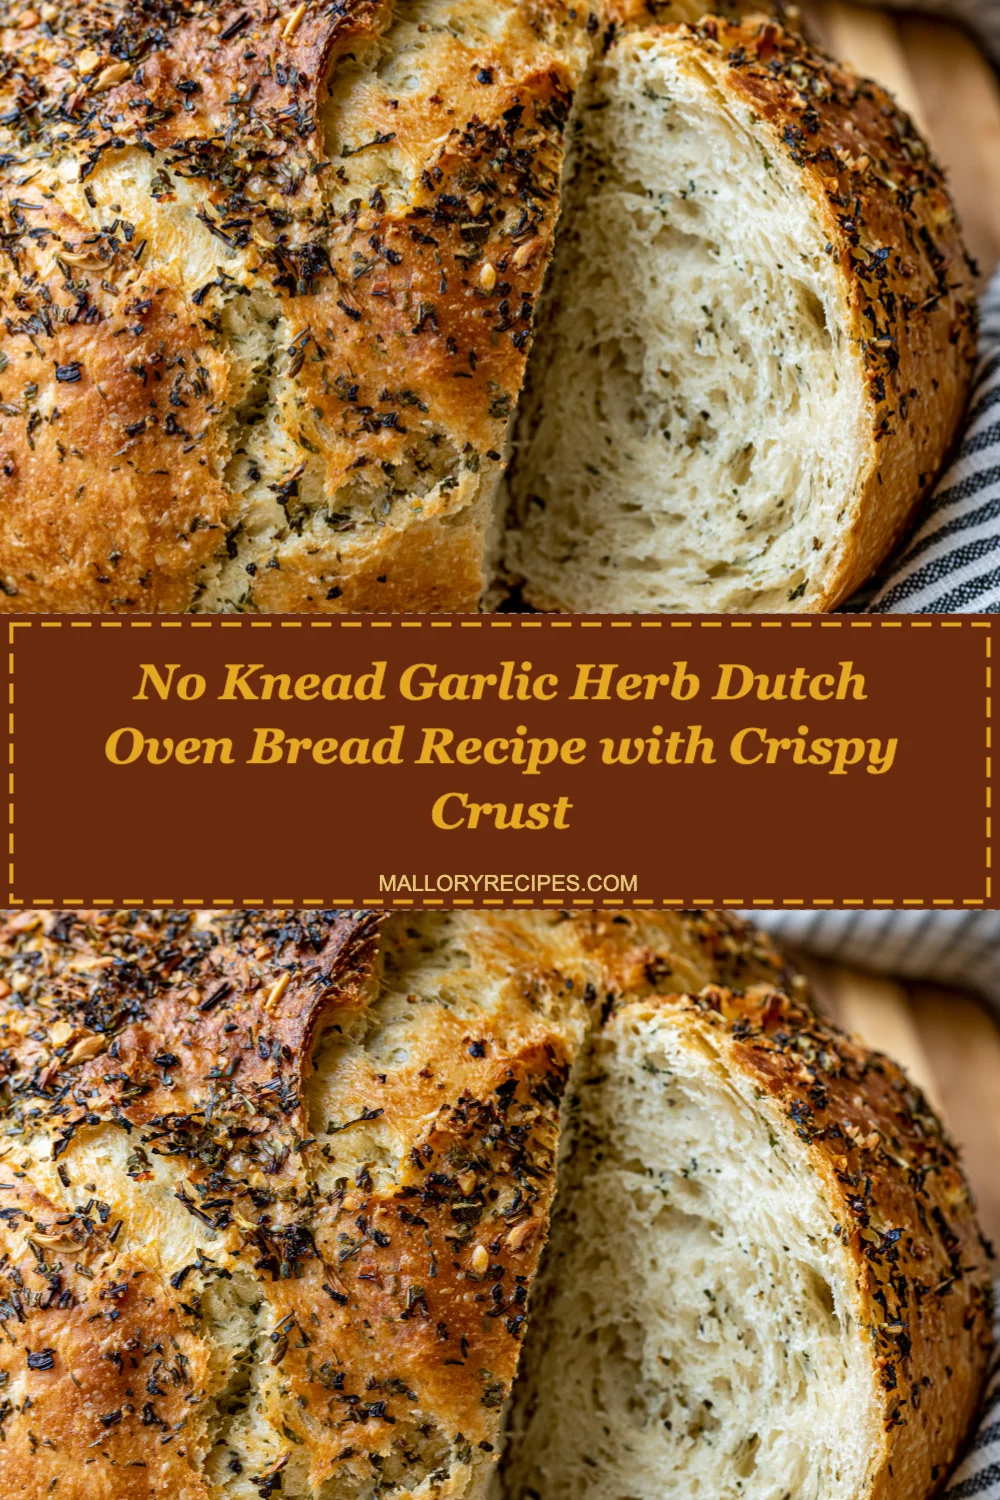

No Knead Garlic Herb Dutch Oven Bread Recipe with Crispy Crust
Ingredients
Equipment
Method
- Step 1: In a large mixing bowl, combine the 3 cups of all-purpose flour, 1 ½ teaspoons of salt, and ½ teaspoon of instant yeast.
- Step 2: Add 1 ½ cups of warm water, 4 cloves of minced garlic, and 2 tablespoons of chopped fresh herbs to the dry ingredients. Stir until a shaggy dough forms.
- Step 3: Cover the bowl with plastic wrap or a kitchen towel and let it rise at room temperature for 12 to 18 hours.
- Step 4: Turn the dough out onto a floured surface and shape it into a ball. Let it rest for about 30 minutes.
- Step 5: Preheat your oven to 450°F (232°C). Place your Dutch oven inside to heat for about 30 minutes.
- Step 6: Carefully remove the hot Dutch oven and place the dough inside using parchment paper. Cover with the lid.
- Step 7: Bake for 30 minutes covered, then remove the lid and bake for an additional 15-20 minutes.
- Step 8: Let the bread cool on a wire rack before slicing.