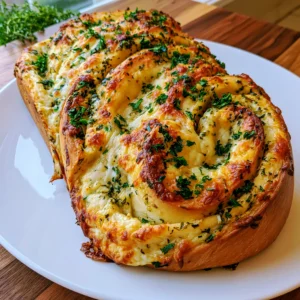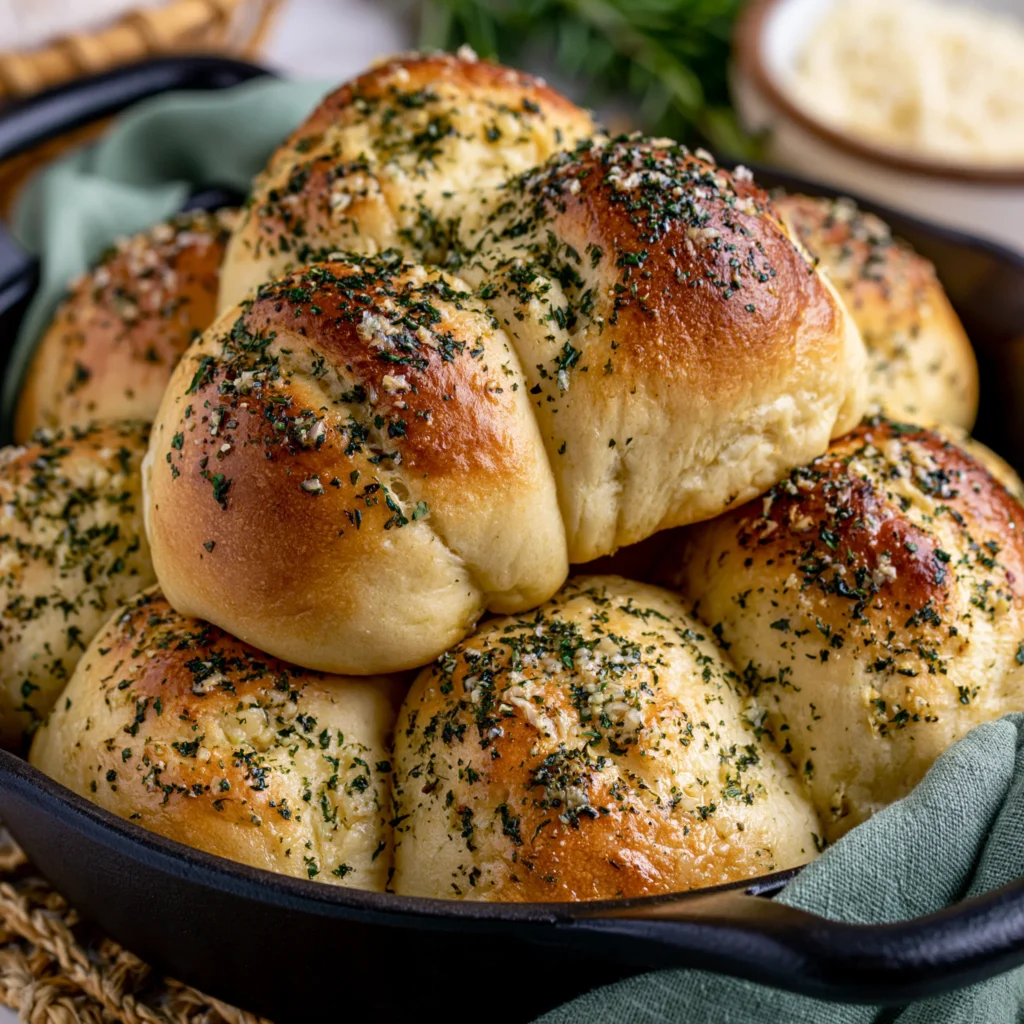
Welcome to your new favorite recipe: Garlic Bread Rolls! These delightful rolls are perfect for any occasion, whether it’s a cozy dinner with friends, a festive family gathering, or simply a treat for yourself. Imagine soft, fluffy rolls infused with the irresistible aroma of garlic and herbs, baked to golden perfection. They are not just a side dish; they are a culinary experience that can elevate your meal and satisfy your cravings.
In this article, we will guide you through the process of making these mouthwatering Garlic Bread Rolls from scratch. With detailed instructions, helpful tips, and variations, you’ll be well-equipped to impress your guests—or simply enjoy them on your own. So, grab your apron and let’s get started!
Why You’ll Love This Recipe
There are countless reasons to love Garlic Bread Rolls, and we can’t wait to share them with you. First and foremost, the flavor. The combination of fresh garlic, melted butter, and herbs creates a tantalizing aroma that fills your kitchen, making it feel like a true culinary haven. These rolls are not just about taste; they also offer a satisfying texture that is soft and pillowy on the inside, with a golden, slightly crispy crust that makes each bite a joy.
Another reason to love this recipe is its versatility. Garlic Bread Rolls can accompany a variety of dishes, from pasta and salads to soups and stews. They are perfect for mopping up sauces or simply enjoyed on their own with a spread of butter. Whether you’re hosting a dinner party, looking for a delicious side for your weeknight meals, or wanting to impress with homemade bread, these rolls fit the bill.
The process of making Garlic Bread Rolls is also incredibly satisfying. There’s something therapeutic about kneading dough and watching it rise, transforming from a simple mixture of ingredients to fluffy, aromatic rolls. Once you’ve mastered this recipe, you’ll find yourself wanting to make them again and again.
In addition, this recipe is easy to customize. Want to make them vegan? Substitute the butter with olive oil or vegan butter. Looking for a cheesy twist? Add some grated mozzarella or cheddar before baking. The possibilities are endless, and you can tailor these rolls to suit your taste preferences.
Why You Should Try This Recipe
If you’re still on the fence about trying Garlic Bread Rolls, let us give you a few compelling reasons to dive in. First, this recipe is incredibly forgiving. Even if you’re a beginner baker, the straightforward steps will guide you through the process with ease. There’s no need for fancy equipment or complicated techniques; just a few basic ingredients and your hands are all you need.
Moreover, baking your own bread can be a rewarding experience. The sense of accomplishment you feel when pulling a batch of freshly baked rolls from the oven is unmatched. Your friends and family will be impressed, and you’ll enjoy the satisfaction of serving something homemade and delicious.
Additionally, there’s nothing quite like the taste of freshly baked bread. Store-bought rolls simply can’t compare to the warmth and flavor of homemade Garlic Bread Rolls. You can control the quality of ingredients, ensuring that you’re serving something wholesome and tasty.
Lastly, this recipe is perfect for bonding and sharing. Invite your loved ones to join you in the kitchen and make a fun activity out of it. Baking together can create lasting memories, and everyone will enjoy the delicious results. So, gather your friends and family, and let’s get baking!
Ingredients and Utensils Needed
Ingredients
- 4 cups all-purpose flour
- 1 packet (2 ¼ teaspoons) active dry yeast
- 1 tablespoon sugar
- 1 teaspoon salt
- 1 ½ cups warm water (110°F/45°C)
- ¼ cup unsalted butter, melted
- 4 cloves garlic, minced
- 2 tablespoons fresh parsley, chopped
- ½ teaspoon garlic powder (optional)
- ¼ cup grated Parmesan cheese (optional)
Utensils
- Large mixing bowl
- Measuring cups and spoons
- Wooden spoon or spatula
- Floured surface for kneading
- Greased bowl for rising
- Baking sheet
- Parchment paper
- Kitchen towel
- Oven mitts
- Small mixing bowl for garlic mixture
Having the right tools will set you up for success. Ensure your measuring cups are accurate, and don’t skimp on the kneading; it’s essential for developing gluten, which gives your rolls their structure. You can also keep a clean workspace to make the process smoother!
Detailed Recipe Steps
Step 1: Activate the Yeast
In a large mixing bowl, combine the warm water, sugar, and yeast. Stir gently to combine and let it sit for about 5-10 minutes. You’ll know it’s ready when the mixture becomes frothy, indicating that the yeast is active and ready to help your dough rise.
Step 2: Combine Ingredients
Once your yeast mixture is frothy, add in the flour, salt, and melted butter. Use a wooden spoon or spatula to mix until a shaggy dough forms. At this stage, it’s okay if the dough looks a bit rough; it will come together during kneading.
Step 3: Knead the Dough
Sprinkle some flour onto a clean surface and transfer the dough. Knead for about 5-7 minutes until the dough becomes smooth and elastic. Make sure to incorporate enough flour to prevent sticking, but avoid adding too much, as it can make the rolls dense.
Step 4: Let the Dough Rise
Place the kneaded dough into a greased bowl, turning it to coat the surface with oil. Cover the bowl with a damp kitchen towel and let it rise in a warm place for about 1 hour or until it has doubled in size. This step is crucial for achieving fluffy rolls.
Step 5: Preheat the Oven
As the dough rises, preheat your oven to 375°F (190°C). This ensures that your rolls will bake evenly and develop a beautiful golden color.
Step 6: Shape the Rolls
Once the dough has risen, punch it down gently to release the air. Divide it into 12 equal pieces and shape each piece into a ball by rolling it between your palms. Aim for smooth, round shapes that will rise evenly during baking.
Step 7: Prepare the Garlic Mixture
In a small bowl, combine the minced garlic, parsley, garlic powder (if using), and Parmesan cheese (if using). This mixture will add a burst of flavor to your rolls, so be sure to mix it well.
Step 8: Coat the Dough Balls
Dip each dough ball into the garlic mixture, ensuring they are well coated. This step not only infuses the rolls with flavor but also gives them a beautiful appearance once baked.
Step 9: Arrange on Baking Sheet
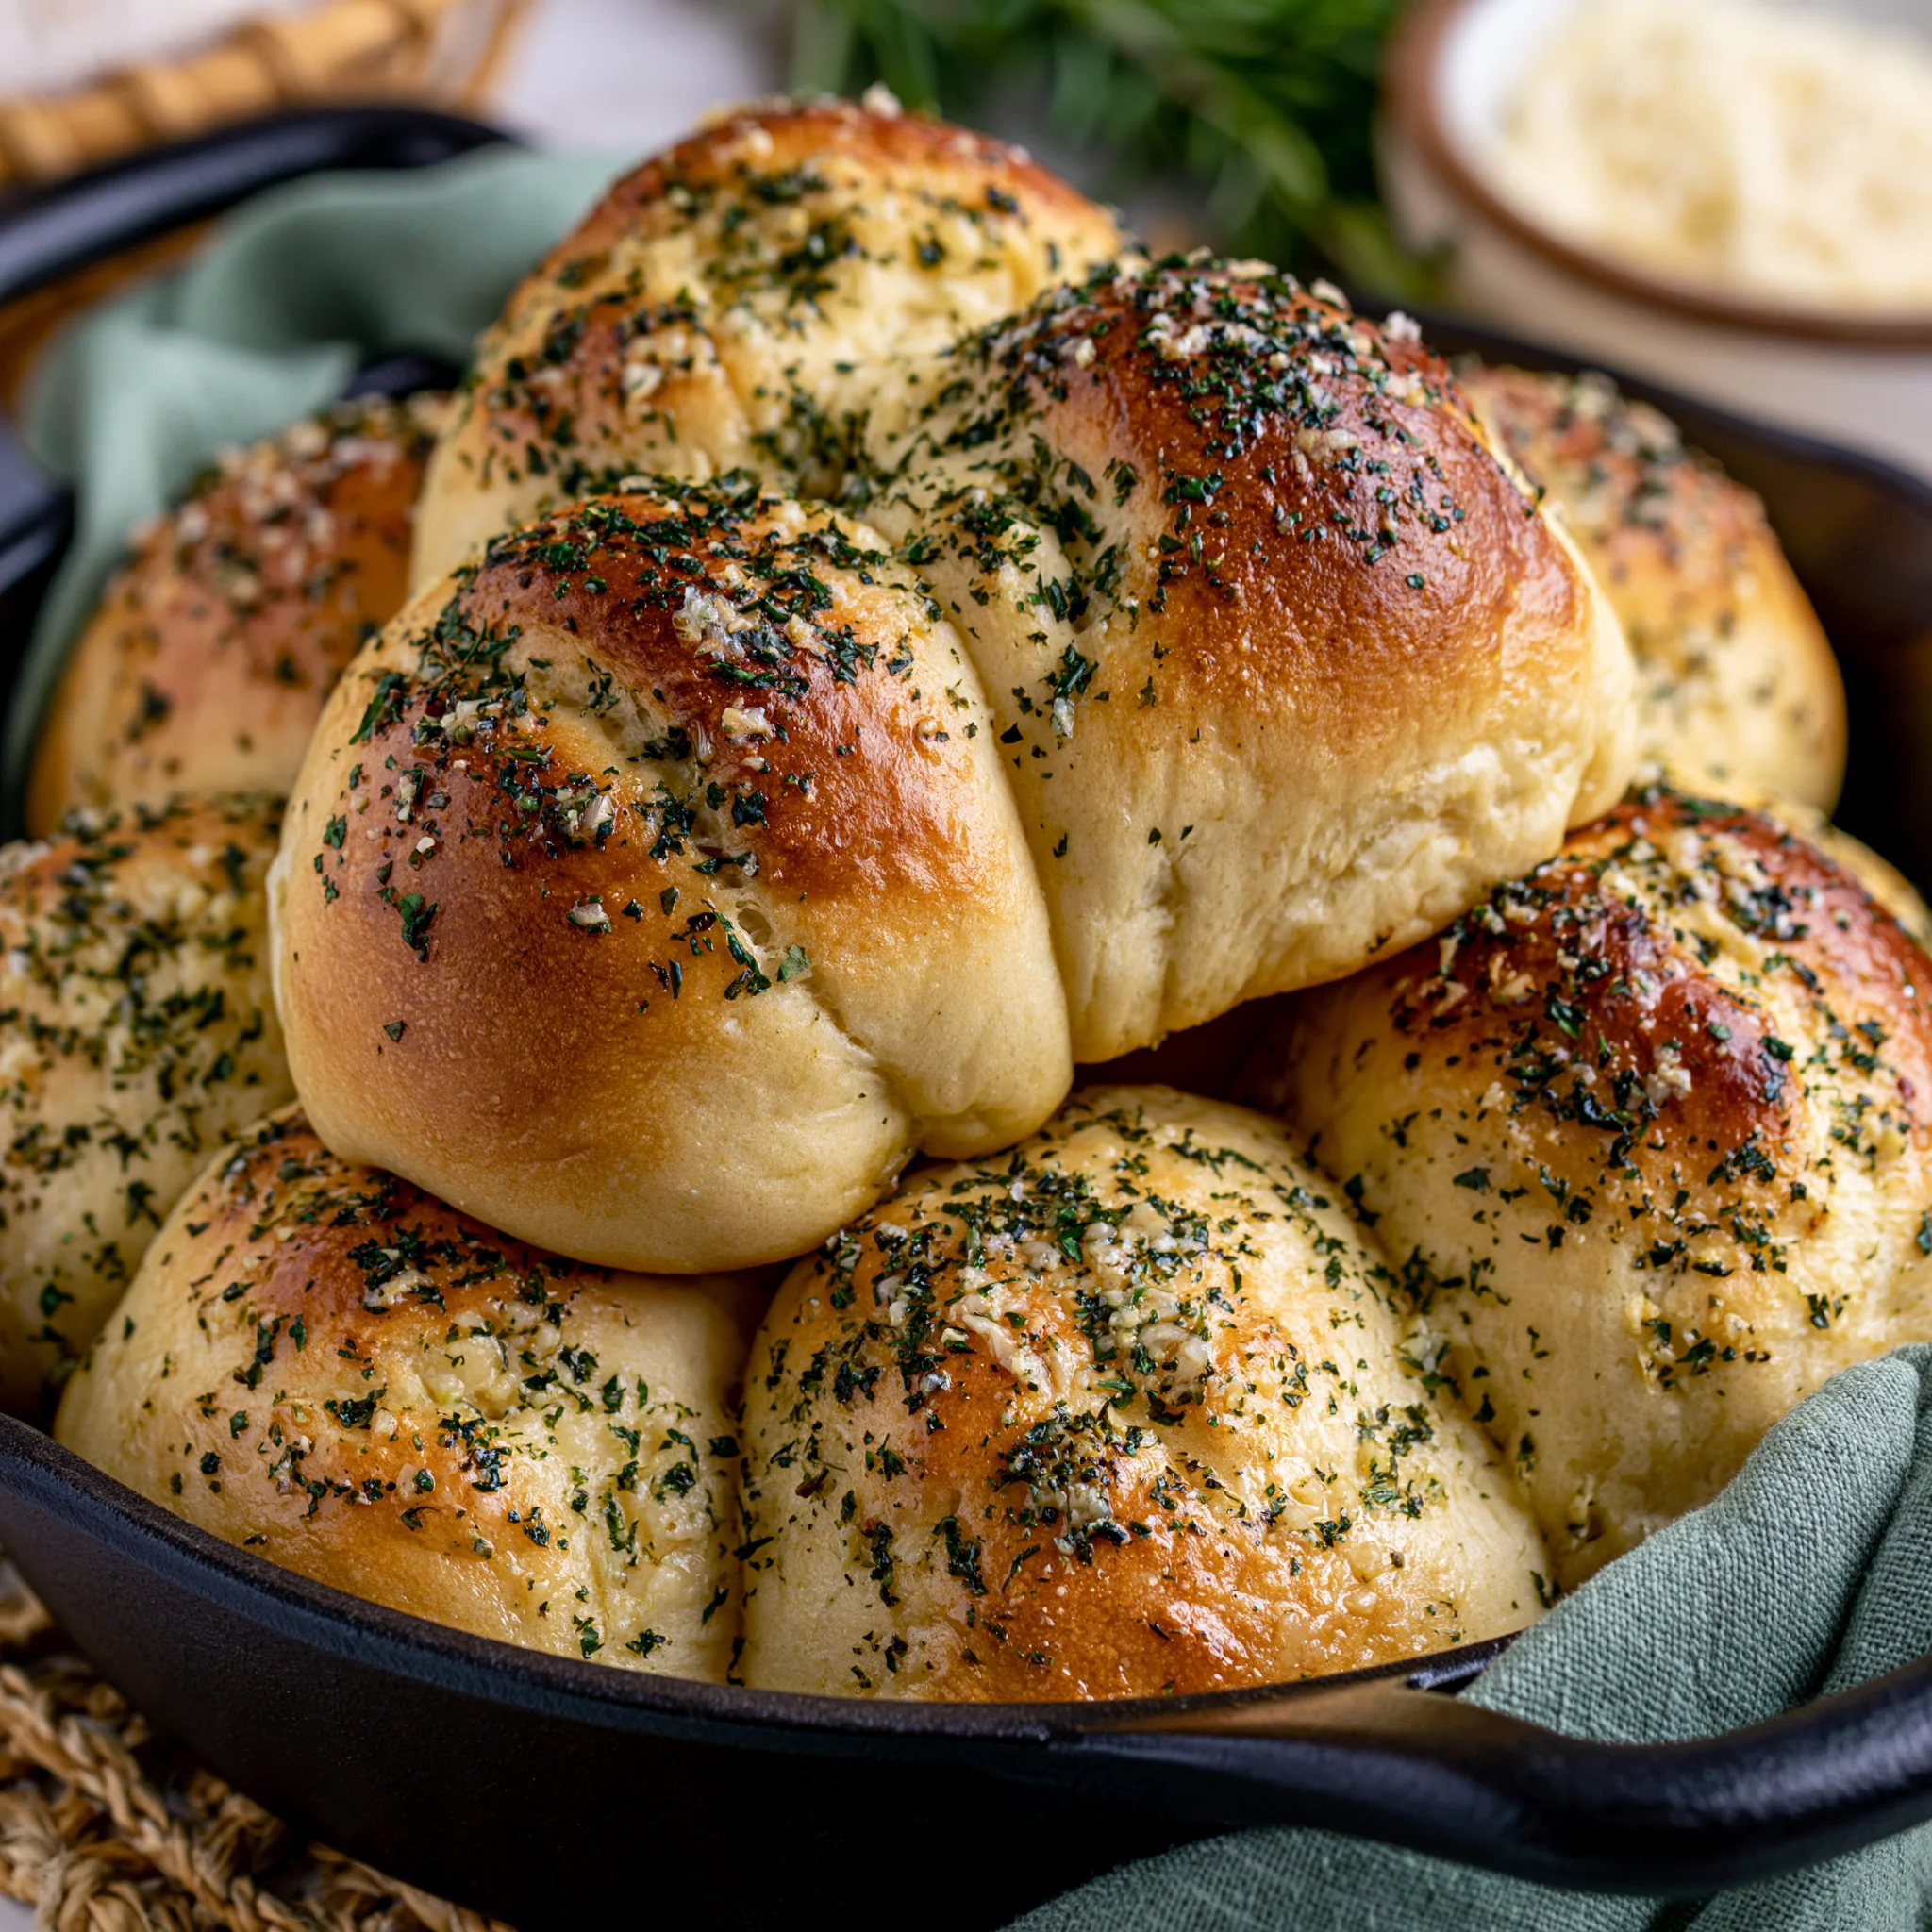
Place the coated rolls on a baking sheet lined with parchment paper, spacing them apart to allow for expansion during baking. You can also arrange them close together for pull-apart rolls, which are fun to share!
Step 10: Bake the Rolls
Bake in the preheated oven for 15-20 minutes or until they are golden brown on top. Keep an eye on them, as oven temperatures can vary. The rolls should sound hollow when tapped on the bottom.
Step 11: Brush with Butter
Once baked, remove the rolls from the oven and brush them with any remaining melted butter for added richness and flavor. Allow them to cool slightly before serving to enhance the taste and texture.
Tips and Variations
As you embark on your journey to make Garlic Bread Rolls, here are some tips and variations to consider:
- Herb Variations: Experiment with different herbs like rosemary, thyme, or oregano to add unique flavors to your rolls.
- Cheesy Rolls: Incorporate shredded mozzarella or cheddar into the dough or sprinkle on top before baking for a melty, cheesy twist.
- Vegan Option: Substitute the butter with olive oil or vegan butter. Use plant-based milk instead of regular milk if desired.
- Gluten-Free Option: Use a gluten-free all-purpose flour blend to make these rolls suitable for those with gluten sensitivities.
- Avoid Common Mistakes: Always check the temperature of your water before adding yeast—too hot can kill it, while too cold can prevent activation. Additionally, don’t skip the rising time; it’s essential for fluffy rolls!
Nutritional Values and Benefits
Understanding the nutritional profile of Garlic Bread Rolls can help you appreciate their place in your diet. Here’s a general breakdown:
- Calories: Approximately 150-200 per roll
- Protein: 4-5 grams
- Fat: 5-7 grams
- Carbohydrates: 25-30 grams
These rolls are a source of carbohydrates, providing energy for your body. The garlic offers numerous health benefits, including anti-inflammatory properties and potential cardiovascular benefits. Additionally, fresh parsley is rich in vitamins and antioxidants, making these rolls not only delicious but also nutritious. Just remember to enjoy in moderation, as they can be calorie-dense!
Frequently Asked Questions
Can I make Garlic Bread Rolls ahead of time?
Yes, you can prepare the dough and let it rise, then shape the rolls and refrigerate them for up to 24 hours. Bring them back to room temperature before baking.
How do I store leftover Garlic Bread Rolls?
Store leftover rolls in an airtight container at room temperature for up to 2 days. For longer storage, freeze them and reheat directly from the freezer.
What can I serve with Garlic Bread Rolls?
These rolls pair perfectly with pasta dishes, soups, and salads, or can be enjoyed on their own with some butter or dipping sauces.
Can I freeze the dough before baking?
Absolutely! You can freeze the dough after the first rise. Thaw it in the fridge overnight before shaping and baking.
Conclusion
Garlic Bread Rolls are a fantastic addition to any meal and an enjoyable baking project for any home cook. With their delightful flavor and soft texture, they’re sure to become a household favorite. We hope this detailed guide helps you create the perfect batch of rolls that will impress everyone at your table.
Don’t forget to share your experience in the comments below, and if you loved this recipe, check out Crack Pasta Salad or Lemon Butter Garlic Pasta Sauce for more delicious recipes! Happy baking!
For additional inspiration and recipes, be sure to pin this recipe to your favorite Pinterest board: Garlic Bread Rolls on Pinterest.
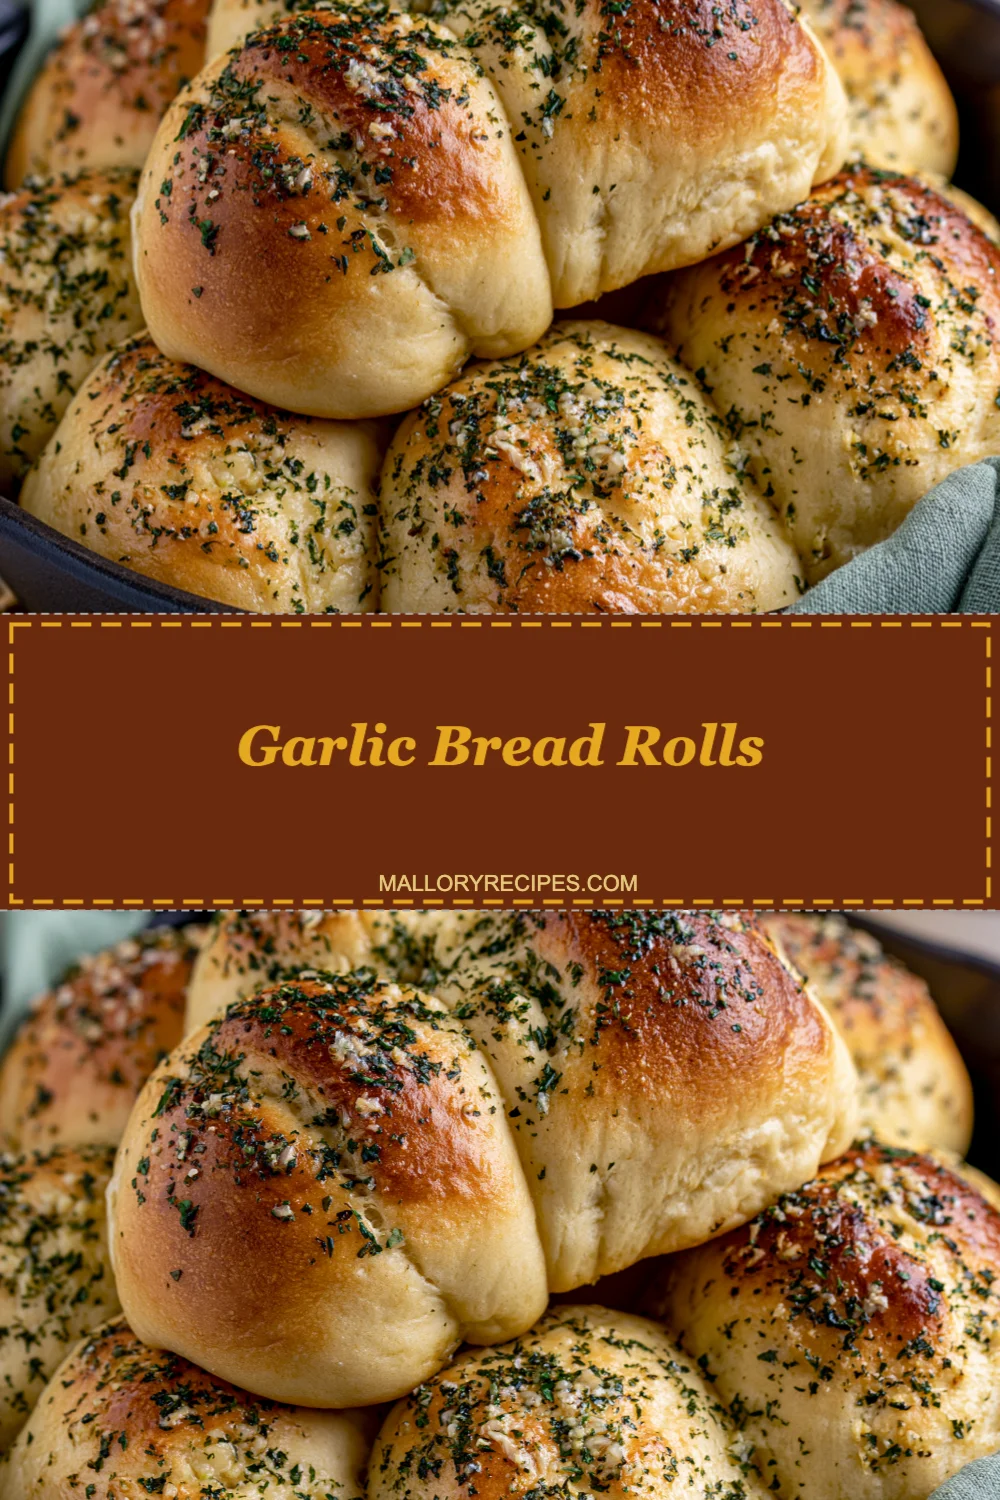
Garlic Bread Rolls
Ingredients
Equipment
Method
- Step 1: In a large mixing bowl, combine the warm water, sugar, and yeast. Stir gently to combine and let it sit for about 5-10 minutes until frothy.
- Step 2: Add the flour, salt, and melted butter to the yeast mixture. Mix until a shaggy dough forms.
- Step 3: Transfer the dough to a floured surface and knead for about 5-7 minutes until smooth and elastic.
- Step 4: Place the kneaded dough in a greased bowl, cover with a damp towel, and let it rise in a warm place for about 1 hour until doubled in size.
- Step 5: Preheat your oven to 375°F (190°C).
- Step 6: Punch down the risen dough, divide it into 12 equal pieces, and shape each into a ball.
- Step 7: In a small bowl, combine the minced garlic, parsley, garlic powder, and Parmesan cheese. Mix well.
- Step 8: Coat each dough ball in the garlic mixture.
- Step 9: Arrange the coated rolls on a baking sheet lined with parchment paper.
- Step 10: Bake in the preheated oven for 15-20 minutes until golden brown.
- Step 11: Brush the baked rolls with any remaining melted butter before serving.